Tuesday, November 17, 2009

split charger setup

I finally managed to get all the bits for the battery to battery charger setup, and made the most of a sunny morning to solder the connectors and install it all.

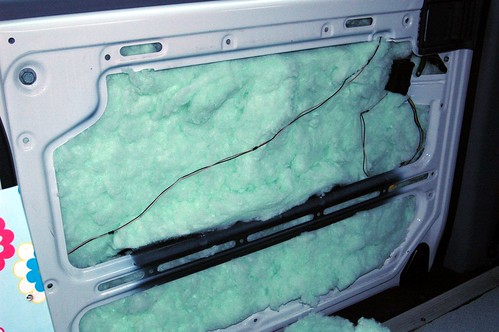
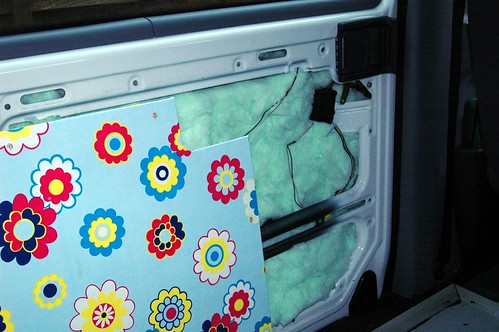
Here are the different components: A 140A automatic split charger from Antares, an isolator switch for the leisure battery, some bling 6mm dia electric cable (the boat shop had ran out so had to go to that place that caters for boy racers), one in-line fuse holder. Ideally I should have used one fuse on both sides of the charger, but the shop had ran out and the leisure side + charger are all contained under the driving seat as seen below.


There is a 50A "mega fuse" close to the connector to the starter starter battery, located under the passenger seat:


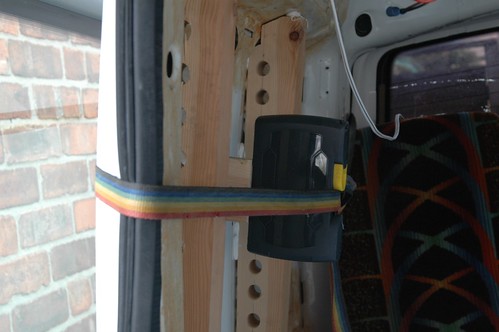
There is one meter of cable linking it to the charger, under the driver seat:


On the picture above, you can just about see the isolator switch on the right of the charger. The switch is activated on the outside of the driver seat base, between the drivers leg. The leisure battery is connected straight to the switch.
At the moment, the fuse box is just secured to inside the seat base . It will eventually be mounted in a separate enclosure, when i tackle the "proper" van electrics - at the moment, it is only connected to some lights.
You can also notice the vent tube for the leisure battery, in light blue on the picture.

This last picture shows the connection from the negative pole of the leisure battery to the van's body. There was an in-situ thread insert, I just bolted the cables to it.


I finished this just in time to rush to work. I didn't put the fuse nor turned the switch on. As I type this, I don't know if it all work. Fingers crossed...

Sunday, November 15, 2009

Bed system

The bed is usable at last:


Just to reassure people I haven't lost my head:


It's made of 3 aluminium frames,


With an Ikea "sultan" bed slat system:


And there's just enough space between the bed and the door for the porta potti:


Shame I only finish this 1/2 day too late for the SBMCC meeting in Donington. Oh well, there'll be plenty more next year.

Sunday, October 4, 2009

insulation - start

I started to insulate the vito with the rear doors. I used this product, £13 a roll at B&Q this autumn. It's made of recycled plastic bottle,, very soft to touch and non irritant. I thought plastic bottle won't retain moisture, it there's some leak or condensation inside the panels. The insulation is glued to the panel with spray glue.


The original panels were damaged. I used them as patterns to cut new panels in 3mm plywood. they were covered in flowery vinyl.


The ceiling is insulated with a layer of reflective bublewrap blanket. It is glued to the roof panel with contact spray adhesive. This will live an air gap between the reflective blanket and the full length vito dualiner ceiling, which is 1cm thick, made of some dense foam.


Every gap in the metalwork is filled with insulation:


Wooden battens are glued to the top rear panels with sika 221. The longer battens are kept in place while the sika cures with a dab of instant hot glue.


The smaller battens were held in place with a strap:


So far, so good. The velcro holding the ceiling isn't working so well with the reflective blanket thickness. I'll have to find a better way to hold it in place.

Tuesday, September 22, 2009

ghost leisure battery - real auxiliary heater

I was told when i bought the van that it had a leisure battery. Unfortunately, that was removed before the police released the van, along with every bit of police kit.

The leisure battery was located underneath the driver seat. All what is left of it are bits of zip tie, a few bolts and a couple of holes in the floor panel:


I am very curious to find out how it was connected to the main circuit, and if the charging circuit is still in place. The only wires left under the driver seat are for the handbrake (it's a conventional one on this police vito).

I also have some connection wires hanging from under the dashboard, near the driver side weelarch.

While investigating all this, i made an interesting discovery: there is an auxiliary heater fitted under the driver's cab!


I guess it must somehow be connected to this control on the dashboard. When turned on, the red led lights up and the climate control fan starts.

Sunday, September 20, 2009

First trip in the van this weekend. Here's some pictures taken at the campsite:


Off course i came back with a long list of things to do. But i was very pleased to find i'd won an eberspacher heater on ebay in my absence.

Thursday, September 17, 2009

The origin


Louise and I bought this van. Ex-police. We're very exited about converting it in a campervan!