Wednesday, August 25, 2010

skylight

Oups! Long time no posts, although quite a lot has happened on the van. Not many things got finished though, but here's one.

I installed the skylight back in June. It's the smallest Fiama: it needs a 28cm square cutout. It sits near the cooker, on a flat part of the roof.

To cut the roof, I lay a sturdy plank and a ladder over the roof bars. I then drilled a hole in each corner and used a pair of nibblers for the straight cut:


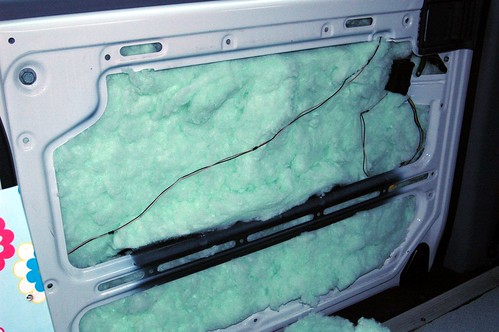
I used sika 221 to glue the skylight in place and to glue soem re-inforcing wooden battens on the inner side of the roof. I re-fitted the ceiling, then finished the instalation by fitting the bottom part of the skylight. I do not have a picture, the a cross section would have shown: top part of the skylight, sika, metal roof, sika, wooden batten, original roof, bottom part of the skylight with screws linking the top and bottom parts.

This failed during our holiday in the Alps. The skylight leaked badly during a stormy night. It turned out that the skylight was not glued to the outer bed of sika! Once I removed the screws holding the bottom of the skylight, the top just lifted off from the roof with no effort!

We retreated to my parent's in sunny south of France to escape the rain, to dry and to repair the van. A local caravan specialist sold me this:


No brand name, but it's the mastic he uses to replace skylights. He buys it in rolls of 12m, and was happy to sell me 1.5m. He didn't know of sika 221, in fact he thought I had just used silicon sealant. To be honest, by that stage the sika looked like silicon sealant!

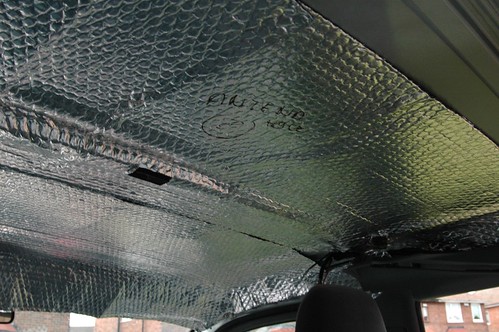
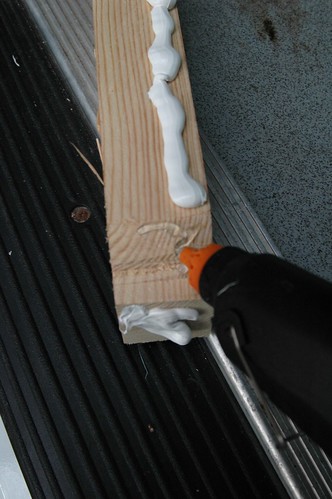
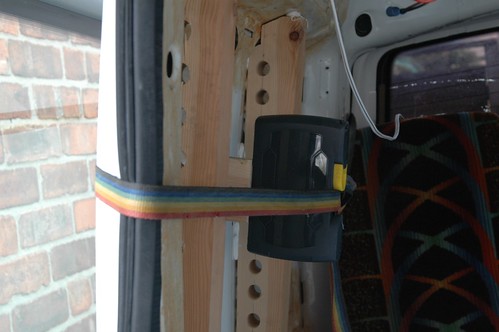
Most importantly, he thought that I had made a mistake when I installed the skylight. He advised me to build up the wooden batten so that when tightening the skylight screws, the top and bottom parts would compress the solid battens not the vito's ceiling, which is made of foam. Here are the extended battens:


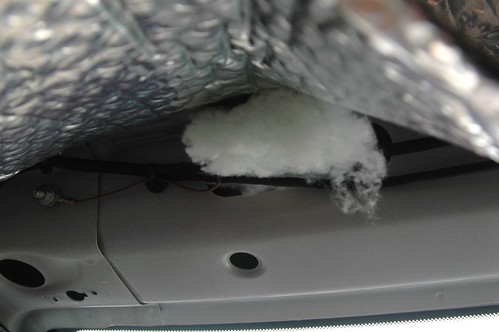
I then laid the mastic around the top skylight, and fitted it. I had to enlarge the foam ceiling cutout, and it doesn't look as tidy now that it isn't fitted under the bottom skirt of the skylight. But so far, it hasn't leaked.

Monday, February 15, 2010

Auxiliary heater

The second thing i bought for the van was an ebespacher heater. It was cheap (<£200) I've spent many weekends trying to make it work and had to admit defeat last sunday evening. With only 5 days before out only possible campervan weekend this winter, I bid and won a nearly new, bigger, more recent heater, within driving distance. I picked it up during the week, fitted it and tested it before the weekend. Here are the pictures:

I used a tool to fit threaded inserts to fit the exhaust and air intake. Here's the silencer:


The intake has a silencer of some kind. Not sure if it makes much of a difference...


I placed the silencer and exhaust where an electric loom used to be. This was relocated on the crossmember:


Here's a picture of the D1 underside (the non-working heater). It is mounted on an aluminium plate fitted on a piece of plywood, the overall thickness of these is the same as the plywood floor plus floor insulation (= 2cm). This means that the heater is flush with the floating floor. On the underside, there is a 2cm recess. It's grey on the picture, as i've sealed it with underfloor sealant to protect the ply.

Sunday, January 24, 2010

Rust

Rust became a concern soon after buying the van. The paint must have got damaged at the edge of the stickers when they decommissioned the van and removed the police stickers. Rust bubbles appeared along the sticker lines too quickly to wait for the end of the winter for a proper respray.

I did my best sanding off the rust, then 2 coats of primer and 2 of paint. My best wasn't good enough as rust spots appeared 2 weeks after coming back to England on the back doors only, the side panels are OK so far.

I also straightened a dent in the back door. No rust is showing on the repair yet, I keep my fingers crossed!


Tuesday, November 17, 2009

split charger setup

I finally managed to get all the bits for the battery to battery charger setup, and made the most of a sunny morning to solder the connectors and install it all.

Here are the different components: A 140A automatic split charger from Antares, an isolator switch for the leisure battery, some bling 6mm dia electric cable (the boat shop had ran out so had to go to that place that caters for boy racers), one in-line fuse holder. Ideally I should have used one fuse on both sides of the charger, but the shop had ran out and the leisure side + charger are all contained under the driving seat as seen below.


There is a 50A "mega fuse" close to the connector to the starter starter battery, located under the passenger seat:


There is one meter of cable linking it to the charger, under the driver seat:


On the picture above, you can just about see the isolator switch on the right of the charger. The switch is activated on the outside of the driver seat base, between the drivers leg. The leisure battery is connected straight to the switch.
At the moment, the fuse box is just secured to inside the seat base . It will eventually be mounted in a separate enclosure, when i tackle the "proper" van electrics - at the moment, it is only connected to some lights.
You can also notice the vent tube for the leisure battery, in light blue on the picture.

This last picture shows the connection from the negative pole of the leisure battery to the van's body. There was an in-situ thread insert, I just bolted the cables to it.


I finished this just in time to rush to work. I didn't put the fuse nor turned the switch on. As I type this, I don't know if it all work. Fingers crossed...

Sunday, November 15, 2009

Bed system

The bed is usable at last:


Just to reassure people I haven't lost my head:


It's made of 3 aluminium frames,


With an Ikea "sultan" bed slat system:


And there's just enough space between the bed and the door for the porta potti:


Shame I only finish this 1/2 day too late for the SBMCC meeting in Donington. Oh well, there'll be plenty more next year.

Sunday, October 4, 2009

insulation - start

I started to insulate the vito with the rear doors. I used this product, £13 a roll at B&Q this autumn. It's made of recycled plastic bottle,, very soft to touch and non irritant. I thought plastic bottle won't retain moisture, it there's some leak or condensation inside the panels. The insulation is glued to the panel with spray glue.


The original panels were damaged. I used them as patterns to cut new panels in 3mm plywood. they were covered in flowery vinyl.


The ceiling is insulated with a layer of reflective bublewrap blanket. It is glued to the roof panel with contact spray adhesive. This will live an air gap between the reflective blanket and the full length vito dualiner ceiling, which is 1cm thick, made of some dense foam.


Every gap in the metalwork is filled with insulation:


Wooden battens are glued to the top rear panels with sika 221. The longer battens are kept in place while the sika cures with a dab of instant hot glue.


The smaller battens were held in place with a strap:


So far, so good. The velcro holding the ceiling isn't working so well with the reflective blanket thickness. I'll have to find a better way to hold it in place.

Tuesday, September 22, 2009

ghost leisure battery - real auxiliary heater

I was told when i bought the van that it had a leisure battery. Unfortunately, that was removed before the police released the van, along with every bit of police kit.

The leisure battery was located underneath the driver seat. All what is left of it are bits of zip tie, a few bolts and a couple of holes in the floor panel:


I am very curious to find out how it was connected to the main circuit, and if the charging circuit is still in place. The only wires left under the driver seat are for the handbrake (it's a conventional one on this police vito).

I also have some connection wires hanging from under the dashboard, near the driver side weelarch.

While investigating all this, i made an interesting discovery: there is an auxiliary heater fitted under the driver's cab!


I guess it must somehow be connected to this control on the dashboard. When turned on, the red led lights up and the climate control fan starts.